Deep Roots
Welcome to Chapter 13 of Monument Valley 3. Deep Roots takes you on an extensive journey beneath the surface, exploring intricate root systems and underground chambers. This comprehensive walkthrough will guide you through all 52 detailed puzzle steps.
💡 Pro Tip: This chapter features vertical exploration and perspective-based puzzles. Pay attention to how the roots connect different levels and take your time with each mechanism.
Video Walkthrough
For a complete video demonstration of this chapter, watch below:
Step 0

Complete video walkthrough showing all puzzle solutions. Watch this if you prefer a visual guide, or follow the step-by-step instructions below.
Step-by-Step Walkthrough
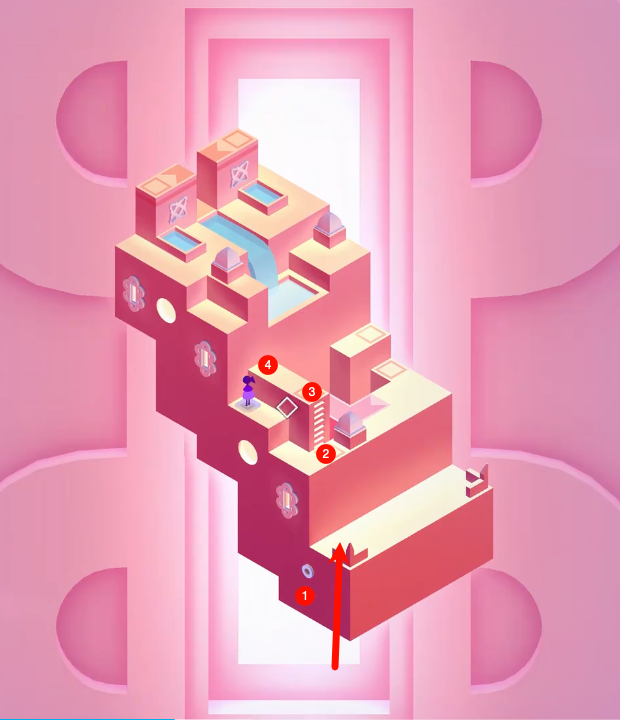
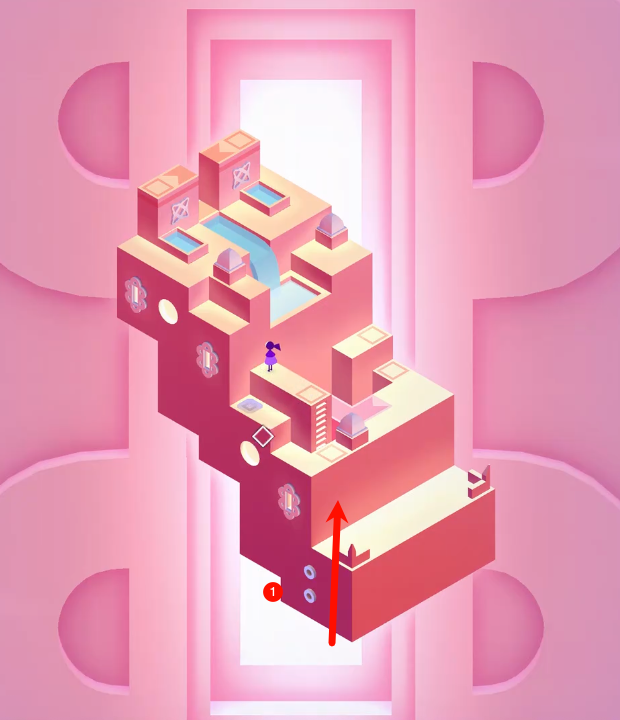
1. Root Entrance
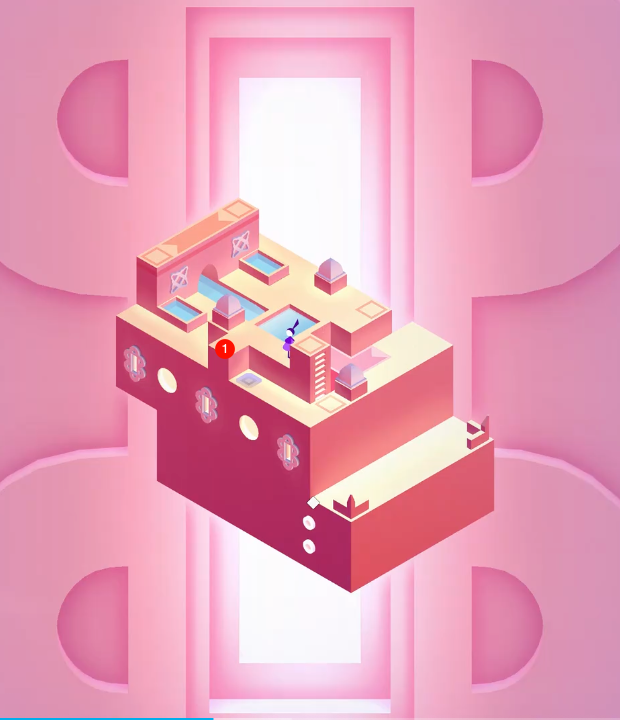
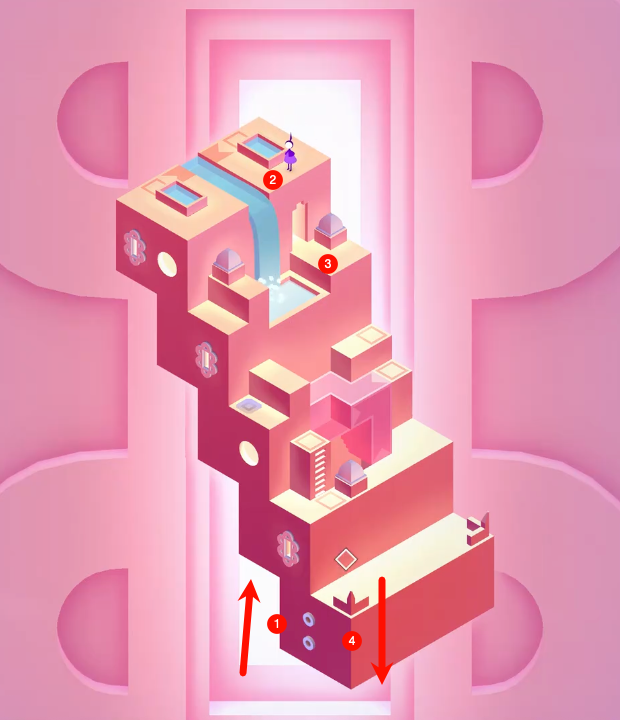
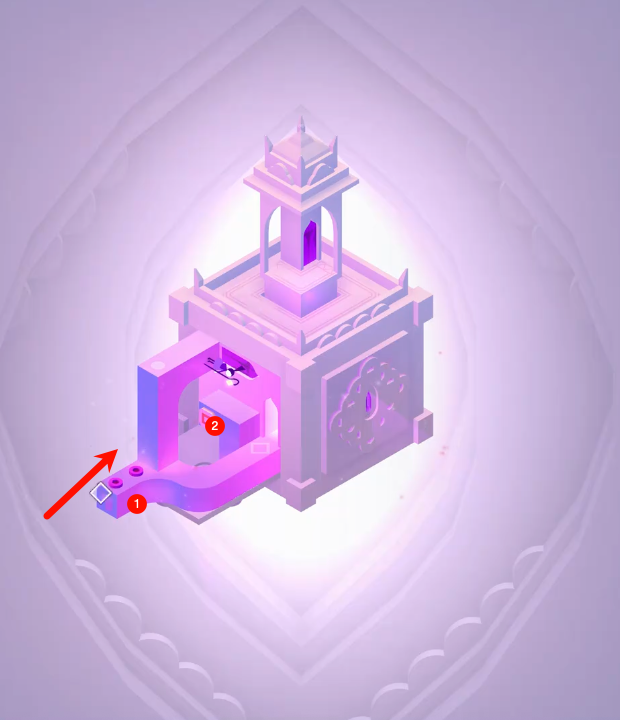
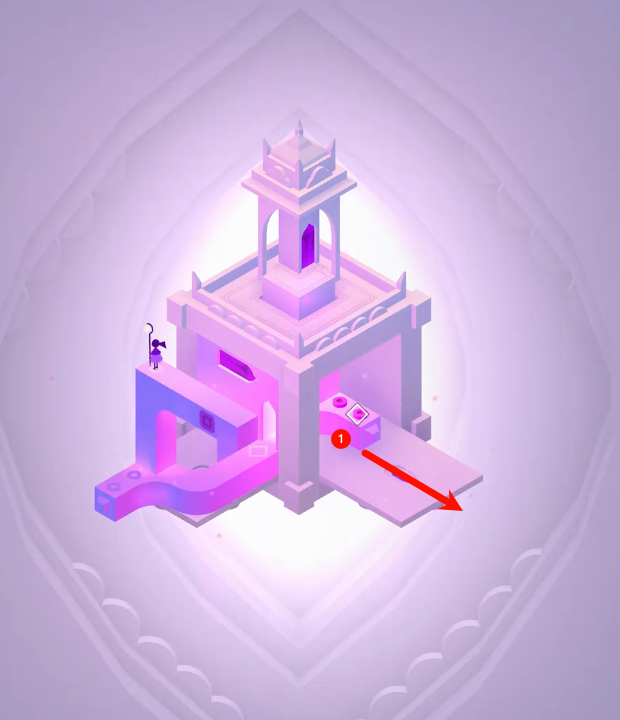
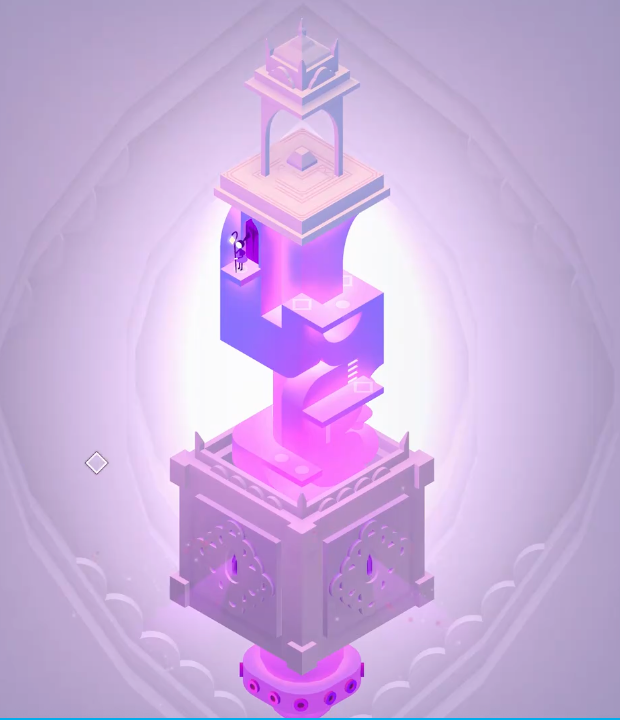
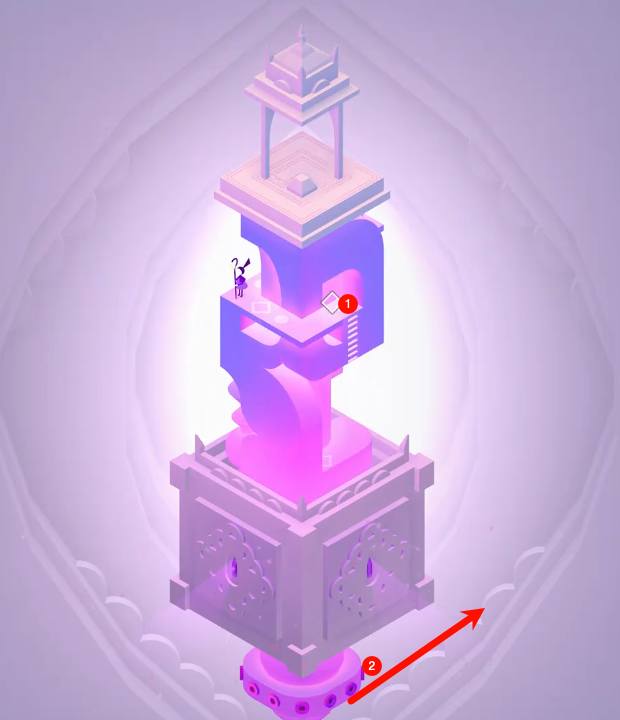
Step 1

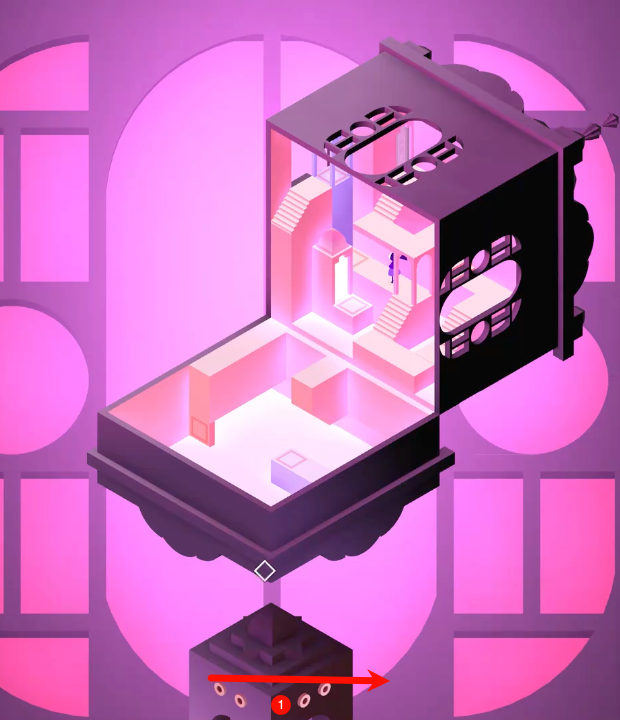
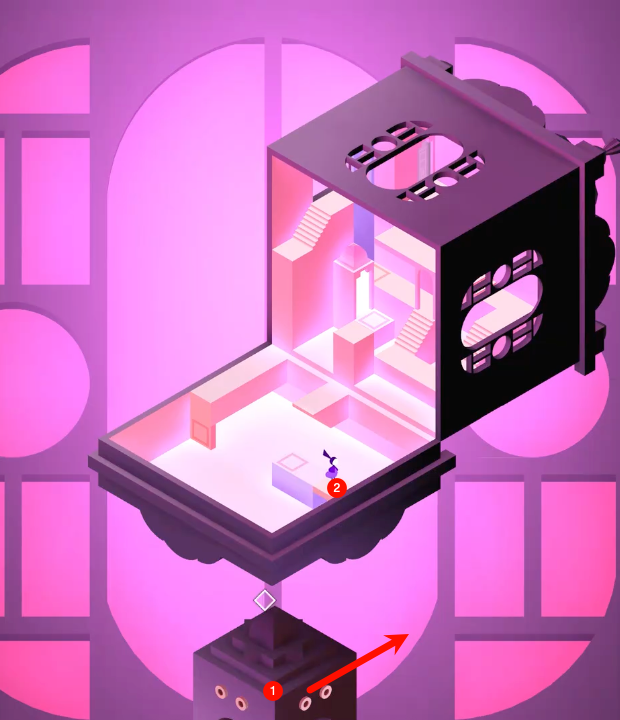
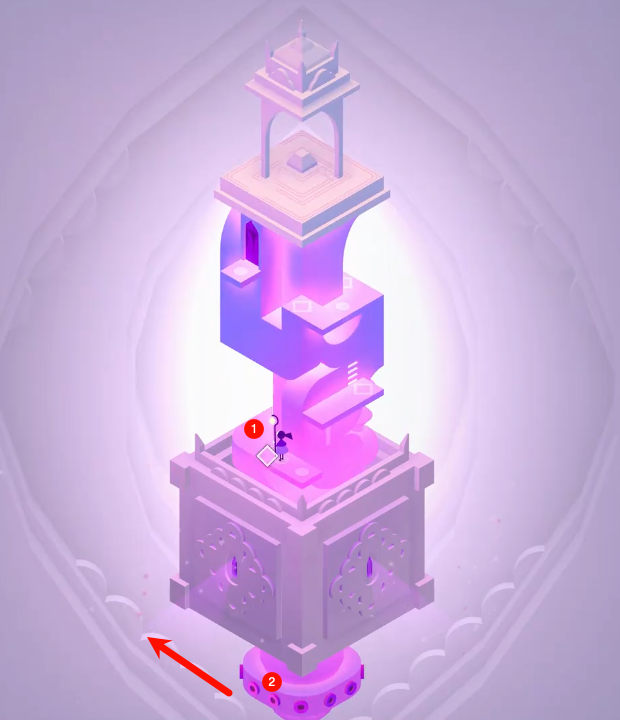
You begin at the entrance to the ancient root system. Tap the glowing platform ahead to start your descent into the depths.
2. Viewing the Depths
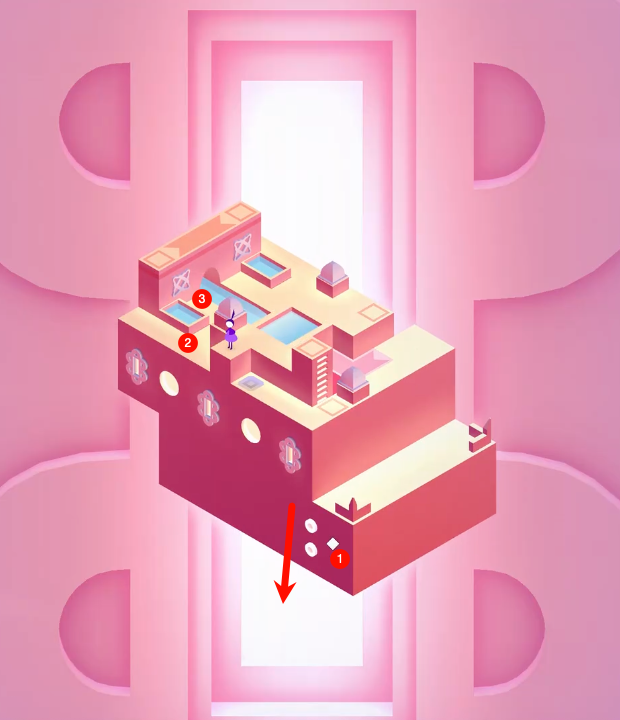
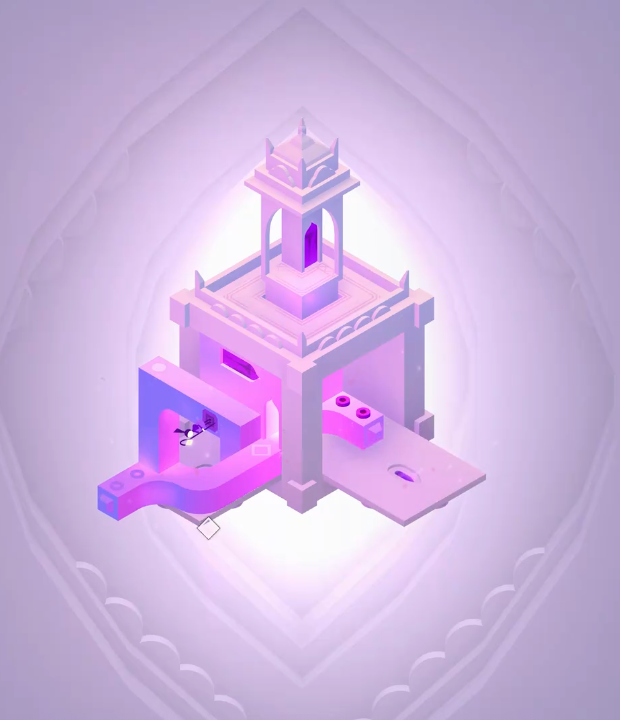
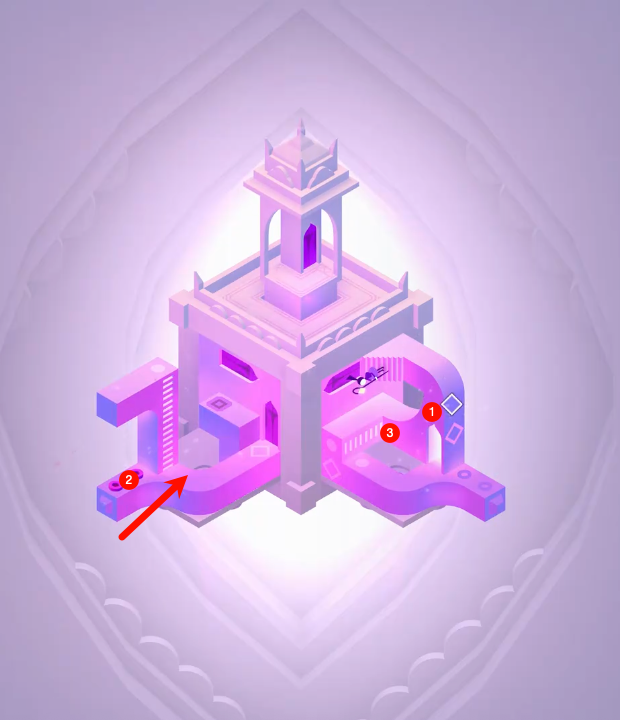
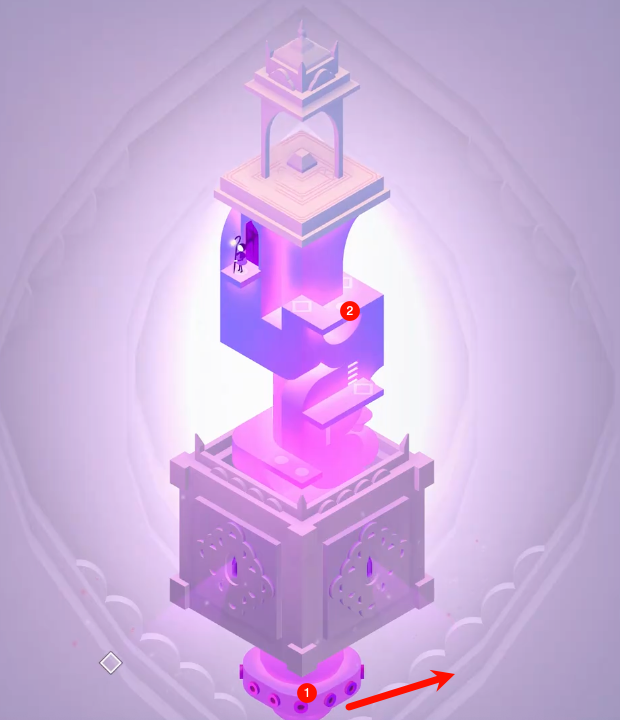
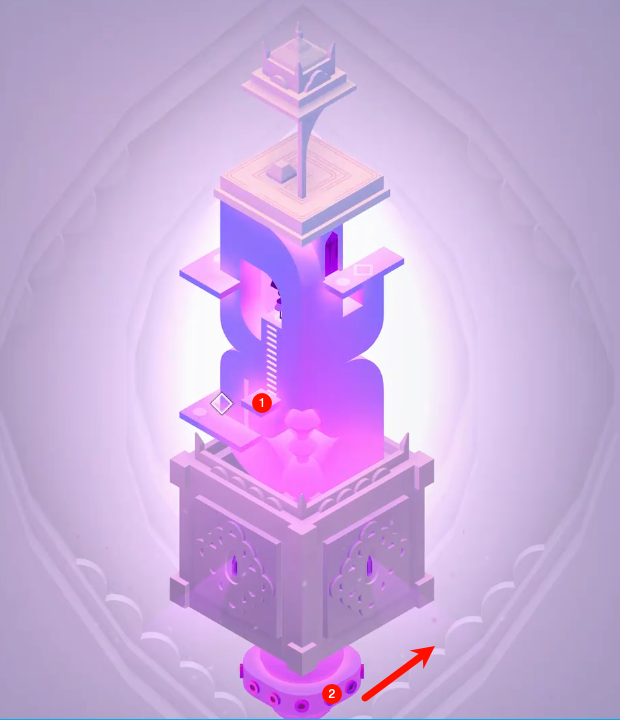
Step 2

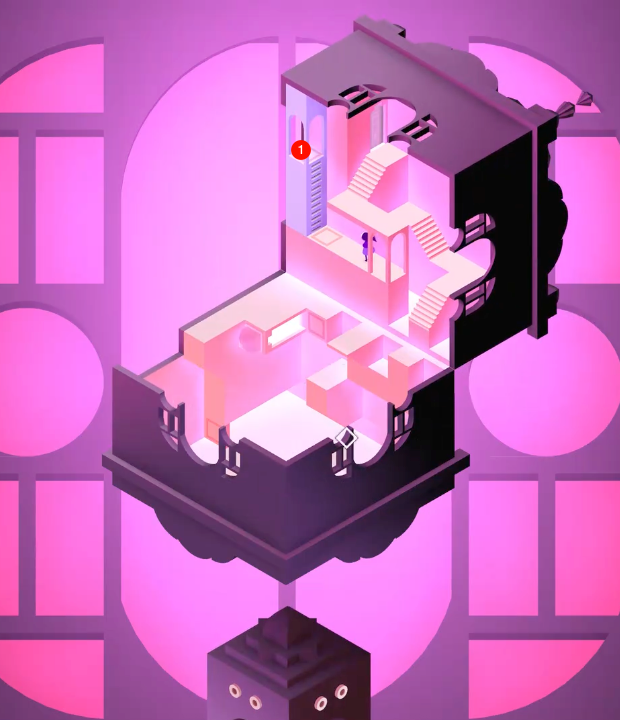
Take a moment to observe the vast root network below. Rotate the camera to see the full scope of your journey ahead.
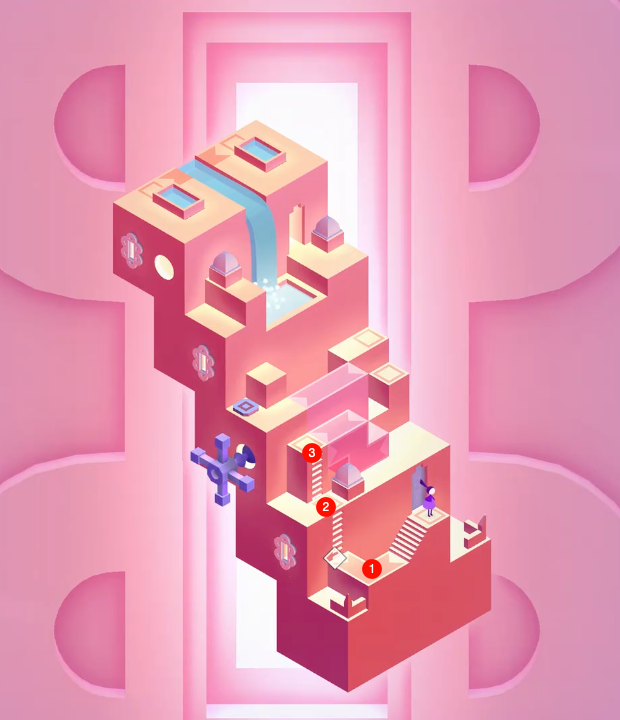
3. First Mechanism
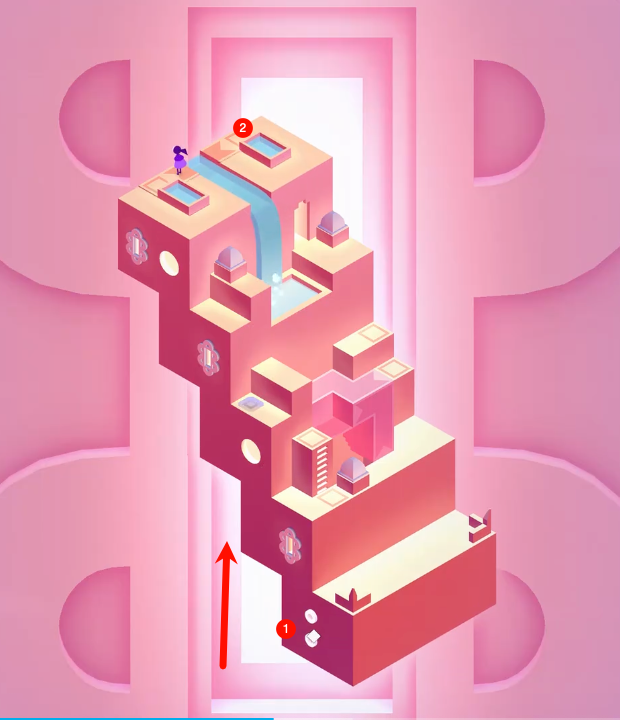
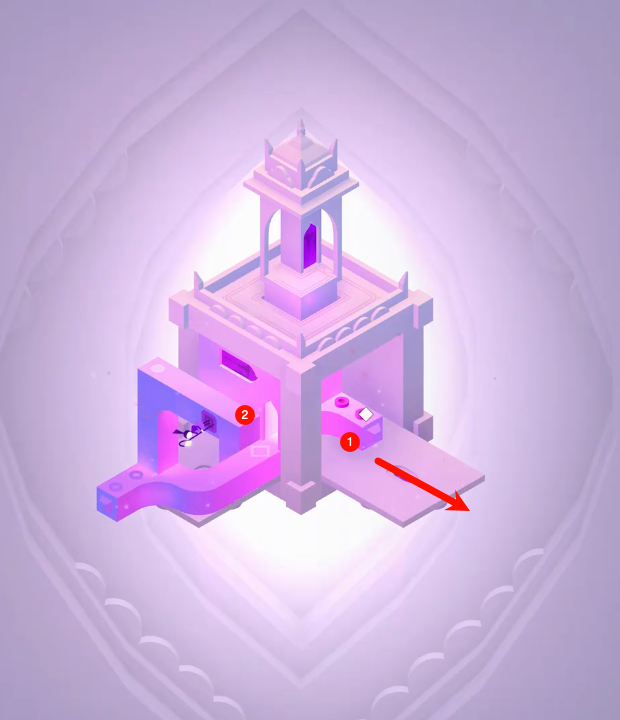
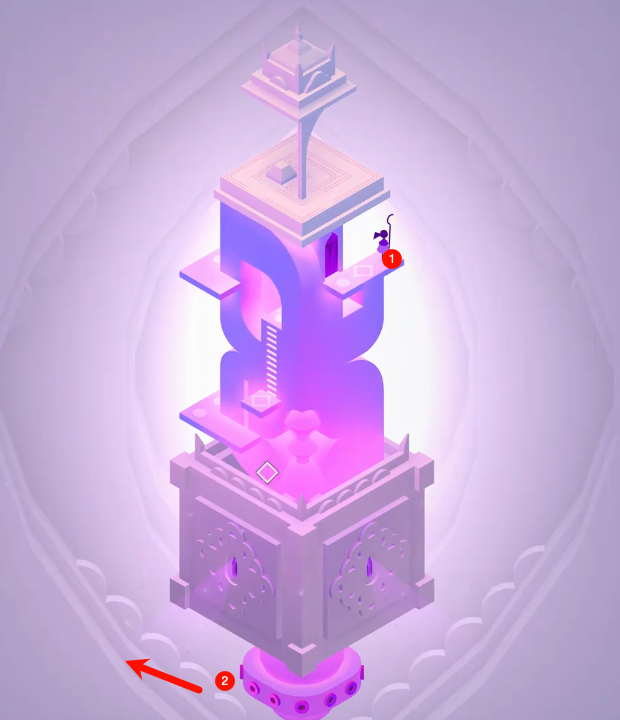
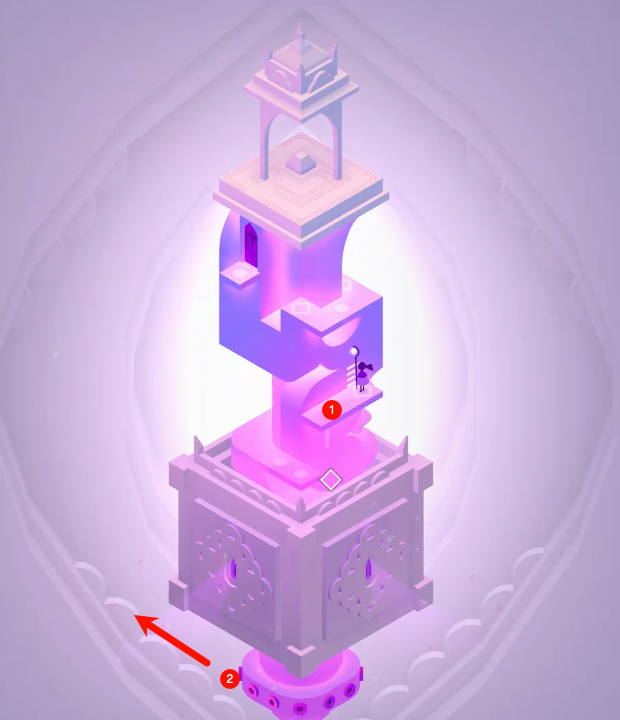
Step 3

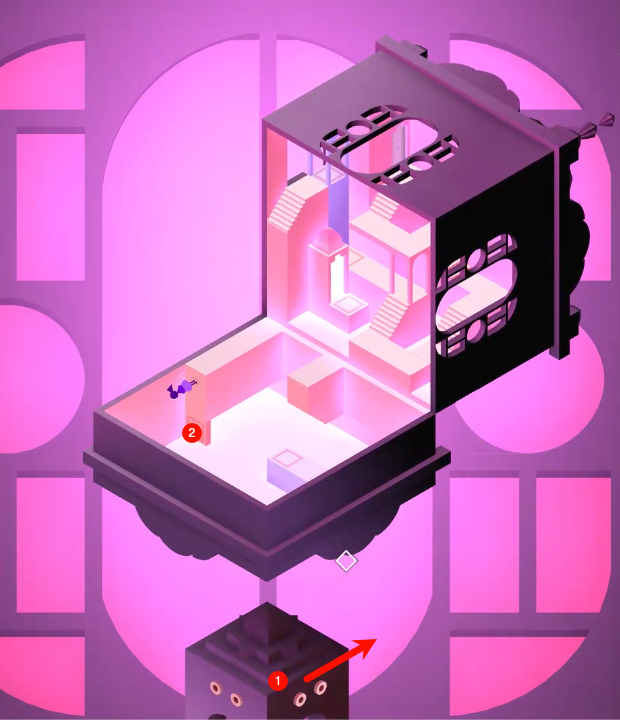
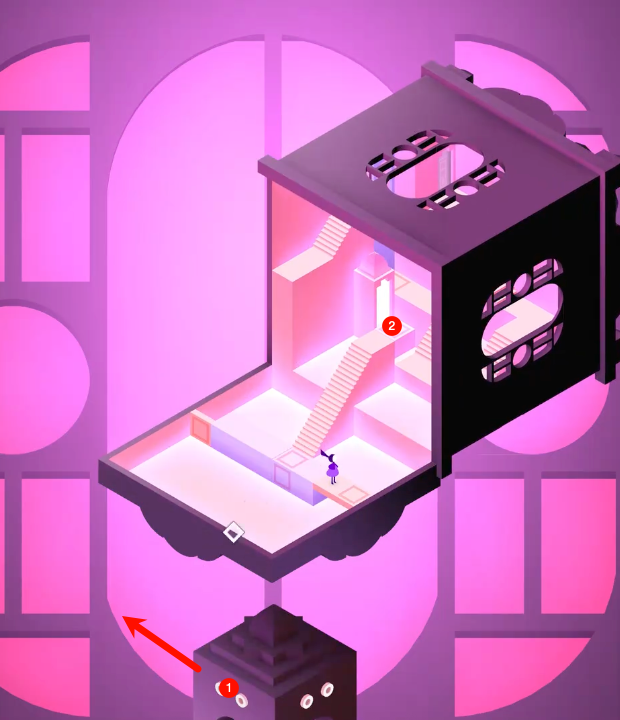
Interact with the first mechanism by dragging it counter-clockwise. This will align the root pathways.
4. Pathway Alignment
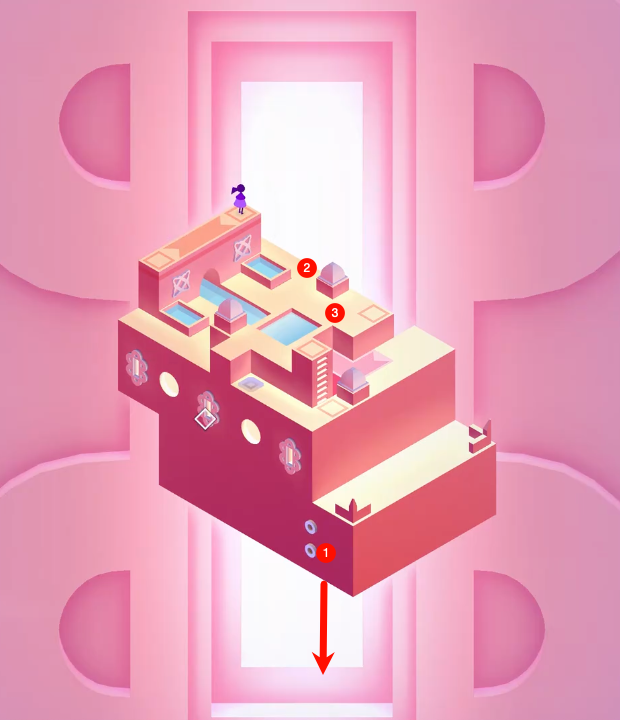
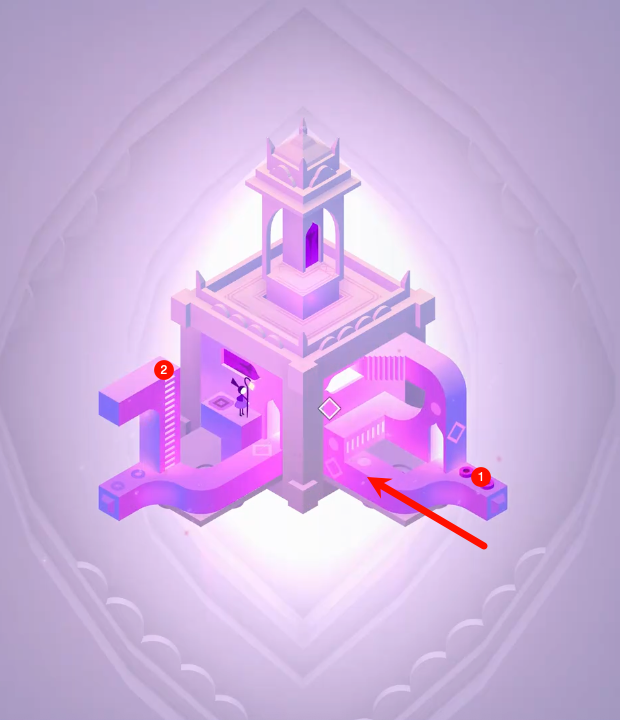
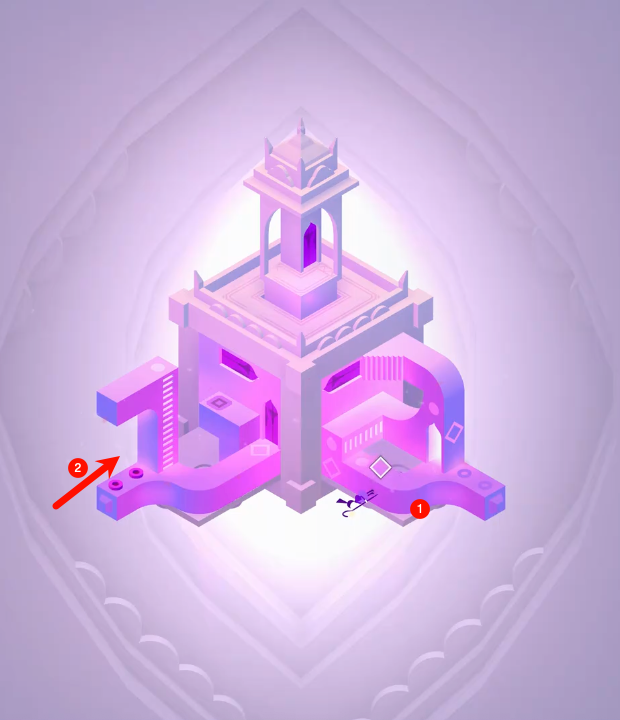
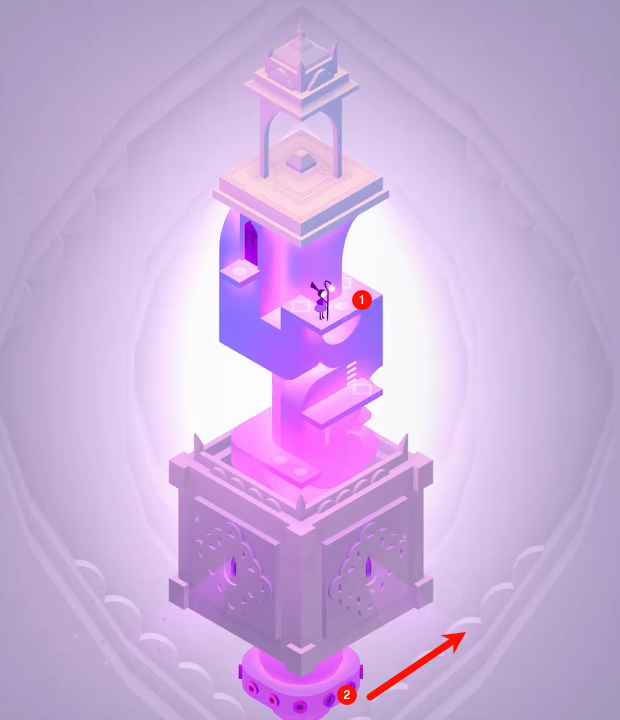
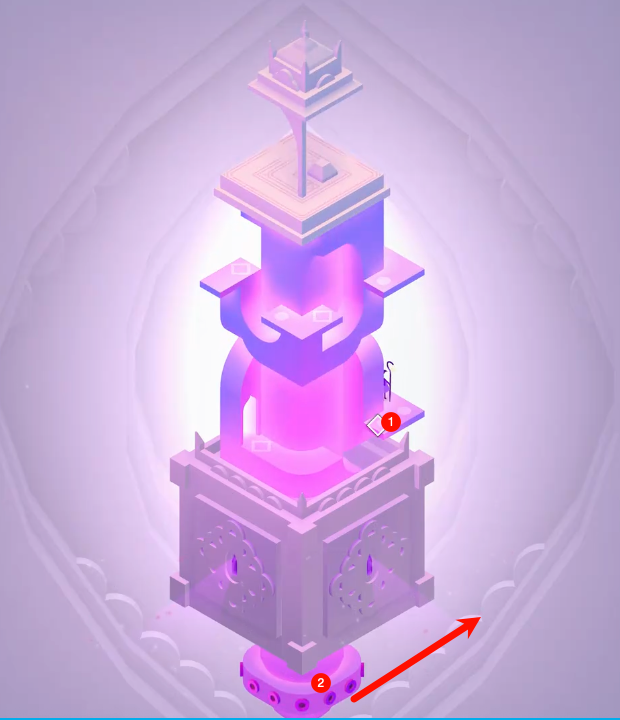
Step 4

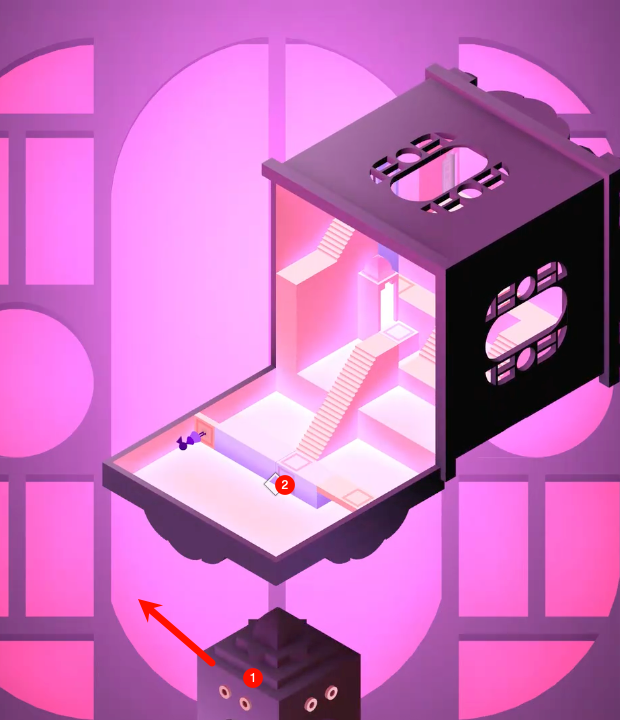
Watch as the pathways align. Once the mechanism locks into place, a bridge forms to the lower level.
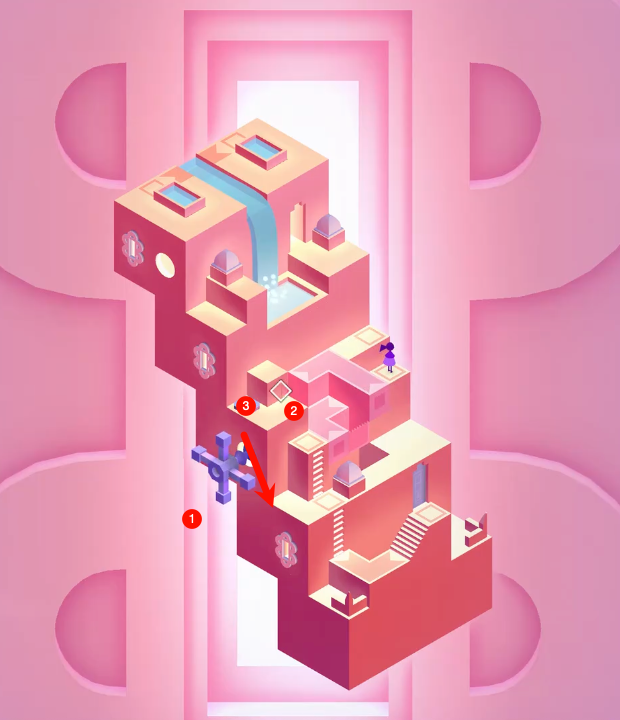
5. Descending Roots
Step 5

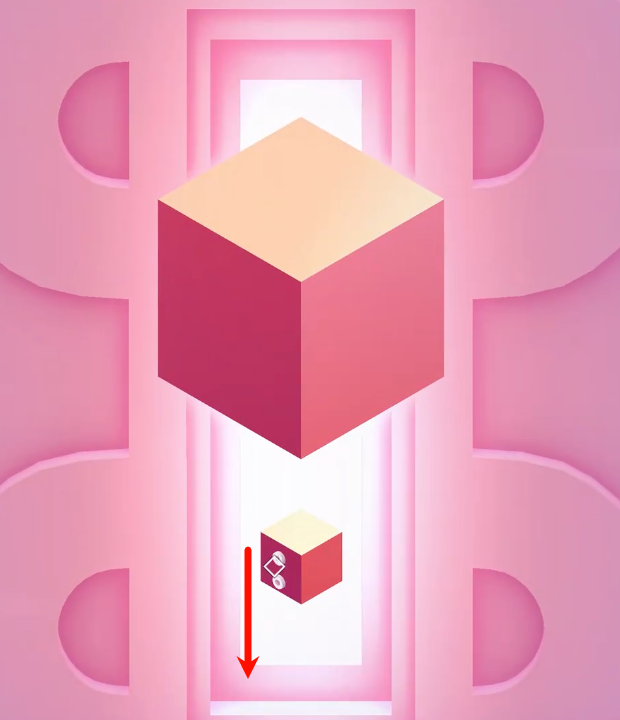
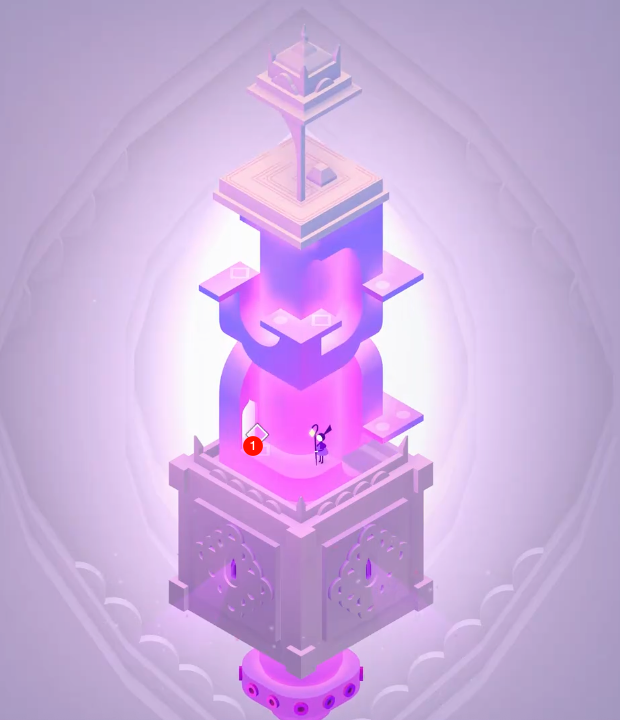
Follow the intertwined roots downward. The path spirals naturally - trust the geometry and keep moving forward.
⚠️ Stuck? Some root connections only become visible when you rotate the camera. Try different viewing angles to reveal hidden paths.
6. Root Tunnel
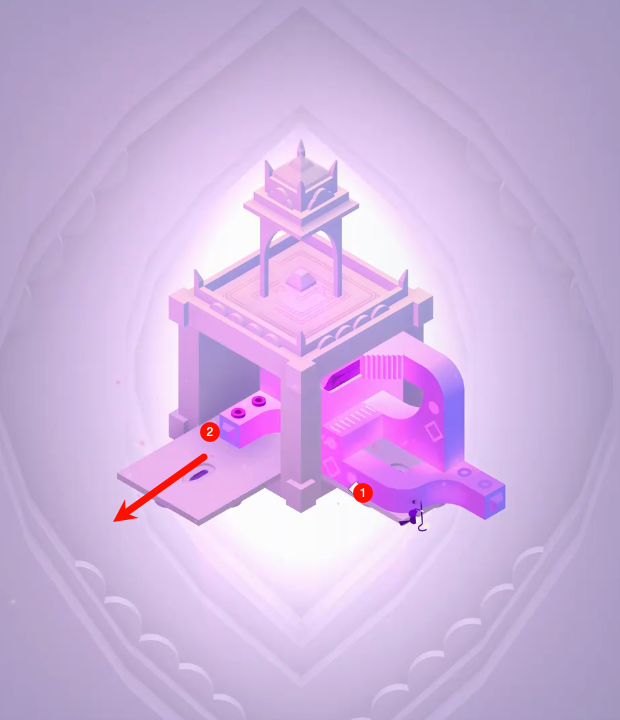
Step 6
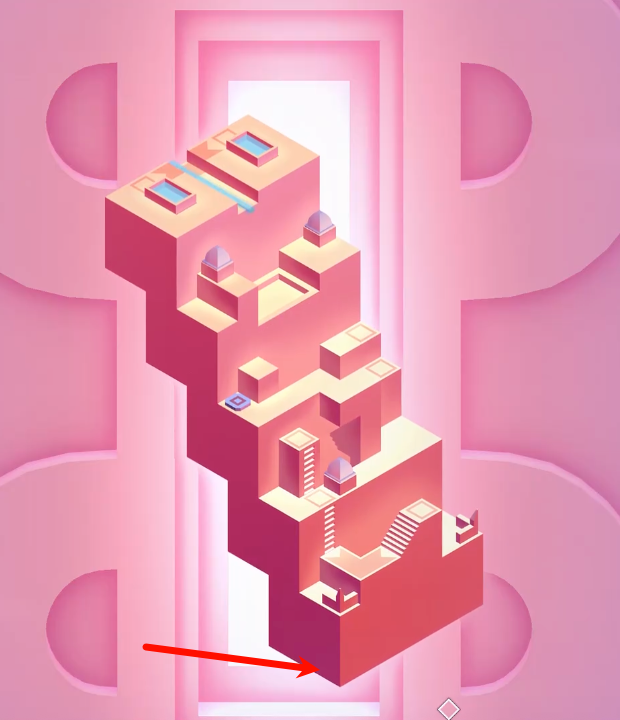
Enter the root tunnel. The walls are formed by ancient roots that have grown together over time.
7. Spiral Descent
Step 7
Navigate the spiral descent carefully. At each turn, you'll need to rotate the central pillar slightly.
8. Deeper Chamber
Step 8

You've reached a deeper chamber. The bioluminescent roots provide natural lighting in this underground space.
9. Lower Chamber
Step 9
Arrive at the main lower chamber. This is a hub area with multiple pathways branching out.
10. Chamber Totem
Step 10
Activate the totem in the center to illuminate the surrounding root network and reveal the next path.
11. Water Puzzle
Step 11
You've entered a water-filled chamber. Locate the valve mechanism on the right side.
12. Water Level Rising
Step 12
Turn the valve clockwise to raise the water level. Watch as the floating platforms rise with the water.
13. Root Bridge
Step 13
A root bridge has become accessible. Approach it carefully - it's stable despite its organic appearance.
14. Bridge Crossing
Step 14
Cross the root bridge. The bridge will shift slightly as you walk - this is intentional. Keep moving forward.
15. Rotating Platform
Step 15
Stand on the circular platform. You'll need to rotate it to align with the correct pathway.
16. Platform Alignment
Step 16

Drag the platform clockwise until it aligns with the glowing pathway on the right. You'll hear a click when it's correct.
17. Crystal Chamber
Step 17

Enter the crystal chamber. Three crystals are embedded in the walls, each glowing with a different color.
18. Crystal Activation
Step 18
Tap the three crystals in sequence: left (blue), center (green), right (amber). This unlocks the passage ahead.
19. Split Path
Step 19

You'll encounter a split in the path. Both paths are visible, but you need to choose the right one first.
20. Right Path
Step 20
Take the right path first. It leads to a mechanism that will unlock the left path for later.
💡 Tip: The bioluminescent patterns on the roots indicate which path to take. Brighter glows mean you're going the right way.
21. Perspective Shift
Step 21
Rotate the view 45 degrees to the left. What appears as a gap is actually a walkable path from this angle.
22. Hidden Passage
Step 22
The hidden passage is now visible. Walk confidently across - the path is solid even though it looks disconnected.
23. Climbing Roots
Step 23
Begin climbing the vertical root structure. Tap each handhold to ascend.
24. Vertical Ascent
Step 24
Continue the vertical ascent. The path goes: up, right, up, left, up. Follow the glowing handholds.
25. Upper Passage
Step 25
You've reached the upper passage. The roots are denser here, creating a narrow corridor.
26. Totem Activation
Step 26
Approach the ancient totem. Tap it three times to activate its power.
27. Root Reconfiguration
Step 27

Watch as the totem's activation causes the surrounding roots to reconfigure, revealing a new path forward.
28. Root Maze Entrance
Step 28
You've reached the entrance to the root maze. This is one of the chapter's most challenging sections.
29. Maze Navigation
Step 29
Navigate carefully through the maze. The correct path is: forward, right, forward, left, forward, right, forward.
30. Inner Sanctum
Step 30
You've reached the inner sanctum. This sacred chamber contains the chapter's main puzzle.
31. Sanctum Center
Step 31
Approach the center of the sanctum. The three-ring puzzle awaits - this will test your patience and precision.
32. Ring Puzzle - Outer
Step 32
Begin with the outer ring. You need to rotate it until the leaf symbol aligns with the marker at the top.
33. Outer Ring Turning
Step 33
Drag the outer ring counter-clockwise. Listen for the confirmation chime when it's correctly positioned.
34. Ring Puzzle - Middle
Step 34
Now focus on the middle ring. This one has a spiral pattern that needs to align with the right marker.
35. Middle Ring Turning
Step 35
Rotate the middle ring clockwise. The spiral pattern should align with the marker on the right side.
36. Ring Puzzle - Inner
Step 36

Finally, the inner ring. This has the root symbol that must align with the bottom marker.
37. Inner Ring Turning
Step 37
Carefully rotate the inner ring. When all three rings are aligned, you'll see a dramatic change.
38. Light Revelation
Step 38

Success! The chamber opens and light streams down through the roots from above.
39. Light Beam Forming
Step 39
Watch as the light beam solidifies, creating a luminous path that leads upward toward the surface.
40. Ascending Path
Step 40
Begin your ascent. The dormant roots come to life, activated by the light energy.
41. Light Stairway
Step 41

Follow the light stairway. The roots form steps that spiral upward in a beautiful helix pattern.
42. Floating Platforms
Step 42
You'll encounter floating platforms suspended by root tendrils. Each one is stable despite appearing delicate.
43. Platform Jumping
Step 43
Jump across the platforms. Move quickly but carefully - they're stable but narrow. The sequence is: forward, left, forward, right, forward.
44. Final Bridge
Step 44
You've reached the final bridge. The roots form a majestic archway above you.
45. Bridge Approach
Step 45
Cross the final bridge. You can see daylight ahead - you're almost at the surface.
46. Root Crown
Step 46
You've reached the crown where all the major roots converge. This is the highest point of the underground system.
47. Crown Mechanism
Step 47
Interact with the central mechanism at the crown. Rotate it clockwise to open the final passage to the surface.
48. Emergence
Step 48
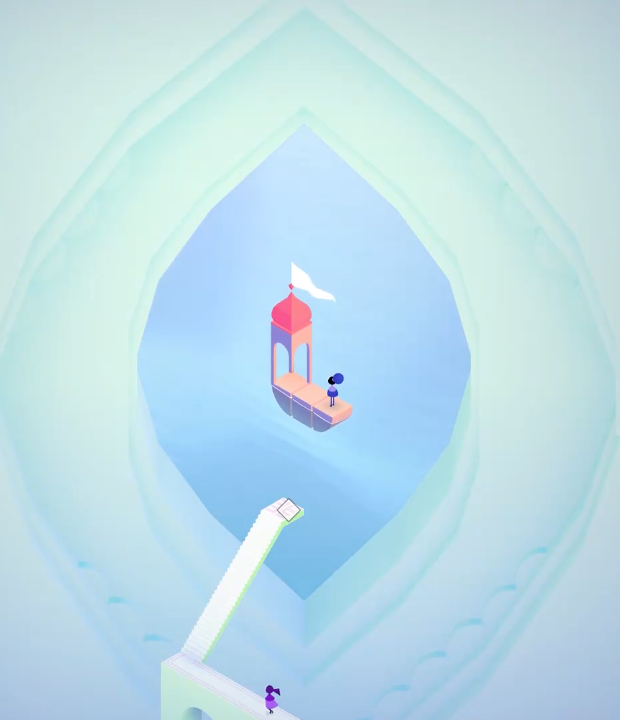
Emerge from the underground into the garden above. The roots have brought you to a new area of the monument.
49. Garden View
Step 49
Take in the view of the garden. You can see the entire root system you just traversed below you.
50. Final Totem
Step 50
Approach the final totem. It stands at the center of the garden, waiting for your touch.
51. Totem Glow
Step 51
The totem glows brilliantly as it receives the energy you've channeled through the entire root system.
52. Summit
Step 52
Tap the final totem to complete the chapter. You've successfully navigated the Deep Roots and emerged victorious!
Chapter Complete! 🎉
You've successfully completed Deep Roots! This extensive chapter tested your ability to think in three dimensions, navigate complex vertical spaces, and solve intricate puzzles.
🏆 Achievement Unlocked: Root Master - Complete Chapter 13 with all 52 steps
What's Next?
- Continue to Chapter 14: The Tree of Light for the final challenge
- Revisit earlier sections to discover Hidden Paths you may have missed
- Try completing the chapter in Speedrun Mode - can you do it in under 15 minutes?
- Explore Alternative Routes through the root maze
Chapter Statistics
- Total Steps: 52
- Puzzle Mechanisms: 8
- Ring Puzzles: 1 (3 rings)
- Vertical Sections: 3
- Hidden Paths: 2
Thank you for exploring the Deep Roots!